8.26.2010

Back to School Breakfast...

 Here's a few simple ideas to make your back-to-school breakfast a little more special....with out a lot of effort (or spending a lot of money--I had everything on hand)

1.The banner...not my most elaborate (or even cutest banner), but I like it.  Just print off letters (I spaced them out 4 per page...adjust your margins to be .25 each) in a cute font & color...mine are sized at 300 pts.  Cut out each letter evenly, punch holes in the top of each corner, thread onto yarn or thin ribbon (I used variegated blue & green yarn) & hang up.
 
2. The Cards. This year I had in my mind I wanted to make cards for each of my kids, with a special note for each of them...when I found this cute (and a little cheesy) poem online it brought my whole theme together "May this school year bring You happiness galore, and may you enjoy it- right to the core".  So I printed it out in a fun font (in brown) Googled an apple image & found one I liked then used it to make a stencil and paper piece the apple together.  (to do this cut out the outside of your image, trace onto a piece of cardstock, then cut out the different layers of the original print out...i.e. the white part of the apple...trace onto the colored papers you like & glue together...I didn't make a template for the seeds, leaves & stem...those are easily free-handed).  I attached the poem with red eyelets to the stripy paper and then glued the apple on.

4. The place markers. First I made the flags by cutting out an approx. 1 3/4 x 4 inch strip of paper.  Fold the paper in half. Cut a skewer about about 4 inches from the pointed end (keep this end, find another use for the rest).  Wrap the paper around the blunt end of the skewer and use double sided tape to secure the paper to itself & the skewer.  Cut paper into a pennant shape & write the name on it, then poke the pointed end into the side of an apple, at an angle.

5. The Centerpiece. I arranged books and a "bouquet of newly sharpened pencils" (from You've Got Mail...I love that movie) and a little 'r' (for our last name)....super simple, but it does the job :)

Have a great school year! :D


8.23.2010

Treasuries...

Here's a couple treasuries I am featured in right now...one for each shop :) Be sure to stop by and show them some love (click & comment) & visit the great shops...

1. "Triangles" by amybunz16


8.20.2010

Back from Vacation & Ready to Craft :)


We're back from our 6 week vacation to Wyoming
(more details here)
I missed creating a lot...I'm usually in need of a project to keep me busy, although I did help make curtains for my Dad & Mom's farmhouse they just moved into..and made a few little gifts for my nieces 3rd birthday.
So now I'm back & here's a little hint of what I'm planning...
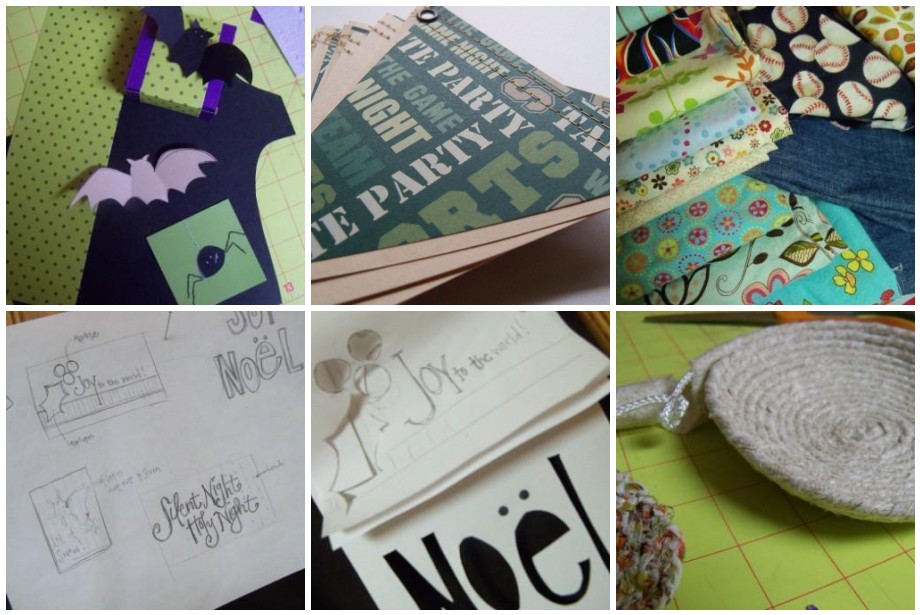
for Anticipation Cards I'm busy getting ready for Halloween & Autumn (my most favorite time of the year)...making some favor boxes, banners and other cute stuff :)...I'm also looking forward to the Holidays & will be starting Christmas & Holiday card sets soon.

At See Anna Sew I'm still working on getting the shop off the ground...leaving on vacation a month after opening doesn't help :).  Watch for more crayon & pencil rolls (I was able to go to a Hobby Lobby while on vacation & picked out some great fabrics....I wish we had one here).  I'm also working on some fabric-wrapped rope baskets, coasters & trivets (a technique I learned in a high school home-ec class) I love how mine is turning out.
I'm also working on shopping bags that I patterned after plastic grocery bags...that will be made out of homespun fabrics (I'm still working out a few kinks)


And keep in mind...holiday season is coming up fast...so watch for lots of tips and tutorials for holiday parties...I've already got a Halloween party in the works :)

6.08.2010

Recycled Art Birthday Party

H's party was a success! The kids all had a great time...(which most kids do at parties, right?) :D & everything went sooo smoothly, which is nice (that may have been due to the party being postponed for 2 weeks). So finally, here are some party details...
The Decorations:

The four banners/buntings hung over head were made from 4 inch triangles of fused plastic bags, sewn together by sewing machine(mine had 43 triangles each).

For the tablecloths, I taped sheets of newspapers together then flipped them over (try to avoid obits & any scary news) :D. I wanted to lighten it up some so I rolled some paper off the kids' art paper down the center & punched the edges with a scalloped border.

The centerpieces are soda bottles cut in half (more or less)...use a craft knife & remove the labels. The bottoms were filled with markers, crayons & colored pencils for the art projects. The top half of the bottles were filled with flowers made from leftover fused plastic bags & newspapers (a mini tutorial coming on that soon).
The favors were stored on the gift table is a box they fit in perfectly tied with a plastic bag "ribbon" and finished with a newspaper "pompom". The candy dishes are made from the bottom of 2-liter soda bottles.
The Cake:
Is easier than it looks...although it was HOT and Humid the day of the party (of course) so frosting it was not so easy.
First I traced the plate onto a large piece of paper...to get the general size I needed.
Next I sketched out the design I wanted...you can just as easily find an image on line and print it out in the size you need...& cut out templates.
I baked the cake in a jelly roll pan...I didn't want the layers too thick. Watch the cake closely...it will cook a lot faster than in a regular cake pan...mine were done in about 10-12 minutes. I used two boxes of cake mix (if I did it over I would use homemade cake...which is denser & less crumbly)...1 cake mix per pan.
After the cake had cooled I used the templates to cut out cake pieces. Then arranged on a cutting board & frosted. I then moved them to the plate & touched up any frosting. The green arrows & 8 are cut out of fondant, rolled out thin, with the same templates. Then just placed on top of the cakes. I didn't put candles in until just before we were getting ready to sing.


The Activity:
I invited all the kids to bring a small grocery sack of things they could use for art projects that they would otherwise throw away or recycle...and we had saved up a bunch of stuff as well. The kids had a great time making whatever they wanted (there were a lot of musical instruments) :) They actually worked on the project for about an hour of the 2 hour party.
They also decorated their newspaper hats(while waiting for everyone to arrive)...which they then wore as party hats.
Don't remember how to make a newspaper hat?
...here's how
Pin It

6.02.2010

Recycled Party Favors

So....H's party had to be rescheduled due to illness, so her party is finally going to happen this weekend--She is beyond excited :)(and I will be happy to have the extra tables out of my living room...)Watch for more party details coming up the end of this week & the beginning of next...I hope to get another little tutorial in before her party (if all goes well) :D
& Thanks Everything Etsy for the blog party!

Here's what I came up with for her favors...It started with an idea to just make little favor bags out of the fused plastic, then morphed into these little art "folders" or "wallets"...I haven't come up with a great idea for a name yet.

The most time consuming part of these is fusing the plastic bags...I suggest making these assembly line fashion...fuse all your plastic, then cut them all out, then sew..the sewing takes very LITTLE time---it's really easy. Here we go...

1. Cut out 3 rectangles of fused plastic. One 9 x 7.5 inches (cover), one 5 x 9 inches (pocket) and one 4 x 1.5 inches (tab).

2. Center the tab on the short side of the outside cover, hold in place (you don't want to use pins...the holes will stay). Stitch with the needle positioned to the right all the way around the tab. Then stitch across the the tab to reinforce; move your needle back to center (whatever design you want...stripes..a "X"...)


3. Line up the bottom of the pocket with the bottom of the cover, with the tab situated to the right, and covering up the back side of the stitching you just did. With the needle positioned to the right, top stitch around the entire cover rectangle, attaching the pocket.

4. Trim strings and fold in half towards the tab, crease. Stitch down the center crease (start at the bottom to prevent bunching at the bottom of the pocket). Move your needle to the right, then stitch down both sides of the center line.


5. On the left side of the folder, measure 1 inch from the left seam, mark with a pencil, repeat 2 more times, so that you have 4- 1 inch pockets marked. Stitch, starting at the bottom of the pocket along each line and ending at the top seam.


6. Fill with 4 colored pencils, a small note book & ruler (or whatever else you like)...you want to fill it before attaching the Velcro, so it closes tightly (or not too tightly) :)


7. Connect a pair of sticky-backed Velcro dots. Stick the fuzzy side to the tab, then fold the tab over and attach to the cover. Press firmly.


That's it :)
Pin It Pin It

5.17.2010

News...


So, I've decided to split my shop in two...it has bothered me for a while that the crayon rolls, aprons & pencil cases just didn't 'go'--I like to be organized :) & now I feel like I can expand more on what I sew.  I plan on adding some wallets like the one I made for my daughter (from now on I'm going to just use their initials C...for my oldest son, H...for my daughter & O..for my youngest son...instead of typing out a title) :) & some backpacks for kids that I make out of one bandanna & some shopping bags, just to name a few.

I created a 'spin-off' shop called
for all my fabric projects.

I hope you visit!!

In other news I've been featured in a couple treasuries...
The first one has my Safari Birthday Kit and is
(I was actually featured in another one of hers, I wish I had taken a screen shot of it before I moved my crayon roll over to See Anna Sew...it was a great collection too)
you can visit it here.

* * * * *
The second has my Flowers & Paisley Bunting featured with other beautiful springtime picks in this treasury by
you can see it here.

They both have great shops! You should give them a visit :D

5.12.2010

Recycled Birthday Party Invites

As you have read, my daughter who turns 8 next week is  having a "Recycled Art" birthday party...combining the two things she is very passionate about.  So you've seen a hint of the banner...more on that later, but here is a little mini tutorial for her invitations.  They are VERY easy (which is best right, when making a lot of invitations)...so here we go...

First gather your supplies...
*Strips of newspaper measuring a little less than 1 x 5.5 inches.

*Fused plastic bags (see tutorial here),cut into the appropriate number

*5.5 x 8.5 rectangles of heavy white cardstock

-->on a side note, wow.. my cutting mat has seen better days :)
`
Second...
Score your card and fold in half.

Apply a little glue or tape to the center of 4 strips of newspaper and arrange on your card. 

Using your sewing machine (or by hand) stitch close to the edges of each strip of paper.  Trim strings.


Last...
Use glue dots to stick your fused plastic number to the corner.  See...easy :) 

I stamped mine inside so it was ready to fill with party details.

She loves them...what do you think?

Pin It
Related Posts with Thumbnails