H's party was a success! The kids all had a great time...(which most kids do at parties, right?) :D & everything went sooo smoothly, which is nice (that may have been due to the party being postponed for 2 weeks). So finally, here are some party details...
The Decorations:
The four banners/buntings hung over head were made from 4 inch triangles of fused plastic bags, sewn together by sewing machine(mine had 43 triangles each).
 For the tablecloths, I taped sheets of newspapers together then flipped them over (try to avoid obits & any scary news) :D. I wanted to lighten it up some so I rolled some paper off the kids' art paper down the center & punched the edges with a scalloped border.
 The centerpieces are soda bottles cut in half (more or less)...use a craft knife & remove the labels. The bottoms were filled with markers, crayons & colored pencils for the art projects. The top half of the bottles were filled with flowers made from leftover fused plastic bags & newspapers (a mini tutorial coming on that soon).
The favors were stored on the gift table is a box they fit in perfectly tied with a plastic bag "ribbon" and finished with a newspaper "pompom". The candy dishes are made from the bottom of 2-liter soda bottles.
The Cake:
Is easier than it looks...although it was HOT and Humid the day of the party (of course) so frosting it was not so easy.
First I traced the plate onto a large piece of paper...to get the general size I needed.
Next I sketched out the design I wanted...you can just as easily find an image on line and print it out in the size you need...& cut out templates.
 I baked the cake in a jelly roll pan...I didn't want the layers too thick. Watch the cake closely...it will cook a lot faster than in a regular cake pan...mine were done in about 10-12 minutes. I used two boxes of cake mix (if I did it over I would use homemade cake...which is denser & less crumbly)...1 cake mix per pan.
After the cake had cooled I used the templates to cut out cake pieces. Then arranged on a cutting board & frosted. I then moved them to the plate & touched up any frosting. The green arrows & 8 are cut out of fondant, rolled out thin, with the same templates. Then just placed on top of the cakes. I didn't put candles in until just before we were getting ready to sing.
The Activity:
I invited all the kids to bring a small grocery sack of things they could use for art projects that they would otherwise throw away or recycle...and we had saved up a bunch of stuff as well. The kids had a great time making whatever they wanted (there were a lot of musical instruments) :) They actually worked on the project for about an hour of the 2 hour party.
They also decorated their newspaper hats(while waiting for everyone to arrive)...which they then wore as party hats.
Don't remember how to make a newspaper hat?
 Pin It


 1. Cut your white card stock to measure 4.25 x 5.5 inches. Fold in half. Cut out strips of colored card stock to be 1 x 1.5 inches, cut out a notch from the bottom to form the flag. {be sure to make enough for all the invitations you plan on sending out}. I printed out party info in a cute font onto the white card stock before cutting and folding. Play with your margins to get it right (and print out a proof just to make sure)
 2. Arrange your flags & adhere them with a little glue or double sided tape. Make sure you only use the adhesive near the BOTTOM of each flag...you don't want to gum up your sewing machine with the stickiness :) I had my end flags hang over the edge just a bit, then trimmed them even with the side of the card.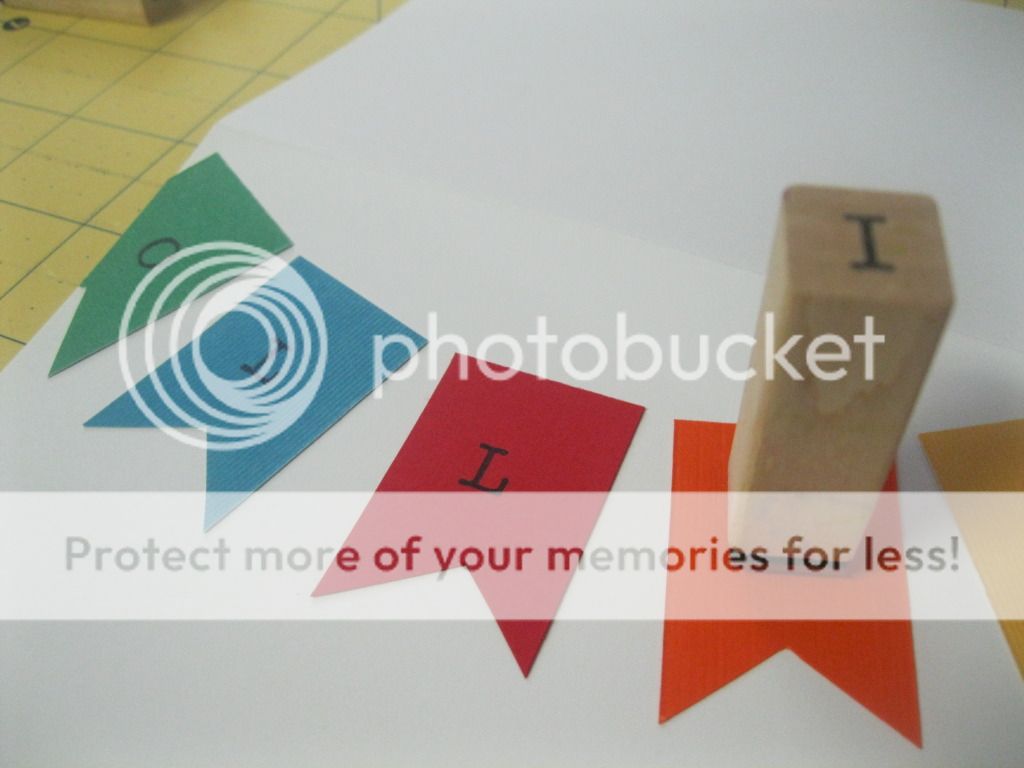
 4. Carefully (and slowly) stitch along the top of the flags to finish the bunting look. Be sure to back-stitch to secure your stitching. I cut the ends to about 1/3 inch or so, to look like ties for the bunting. Using a contrasting thread (I used blue) helps it to stand out.