6.20.2012

Video Game Party {the decorations}


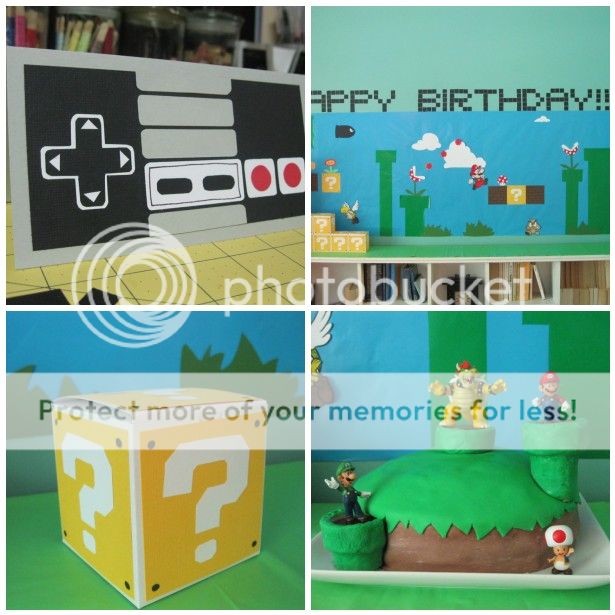
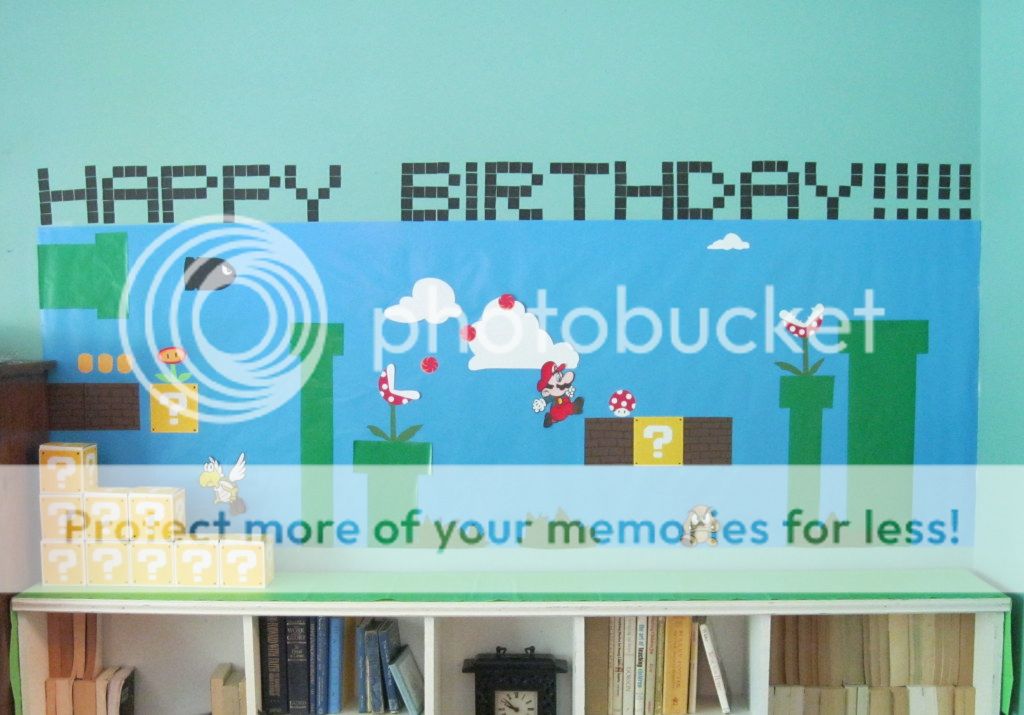
I chose to do one focus wall, with lots of impact for this party.  The mural was really quite easy to put together & I was super happy with the results. {watch for the next post on how to make the ? mark block favor boxes}


First off I made a sketch, I wanted a general idea of how I wanted it to look on the wall.  A few changes were made here and there, but it's always good to start out with a plan :)

After I hung the blue paper up on the wall, I just started adding the elements.
  
The pipes are cut from green wrapping paper (just use a large ruler to measure & get your lines straight...a clear quilting ruler works great here).  

The clouds, grass clumps, coins and fire-power plant are free form shapes cut from card stock...as are the blocks (simple squares, with either a question mark...see favor box tutorial...or hand drawn lines to form bricks).  

For the Piranha plants & bomb, I used images from online and made a simple template, layering colors to get the right effect.

I cheated with the Mario, Goomba, and Turtle, just printing off coloring pages to size, coloring them in & cutting them out.

The "Happy Birthday!!!" took a bit more time, but I think it is well worth it.  First I printed off the message in Unibody 8 to use as a "map".  I then taped 1 inch black squares {electrical tape would work great here) above the mural to form the words.  After getting the first few letters done, it was easy going.


I always use my kids to judge my ideas/projects and this one got a big AWE-some!!! {which really makes it all worth it}

6.13.2012

Video Game Party {the invitations}


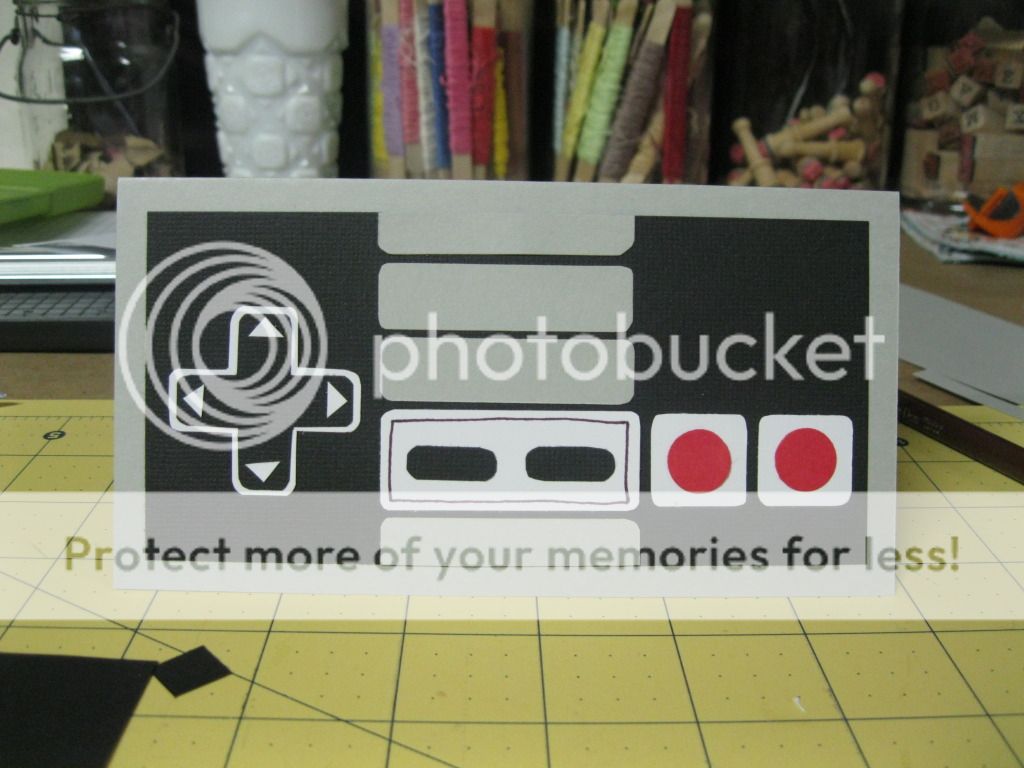
For this party, I decided to make a classic, old school Nintendo Controller...it's the perfect shape for an invitation:)
This is a small invite, only 6.25 x 3.5 inches, that fits into a standard letter envelope.  It's simply layered card stock, with a little black hand outlining in the center. A template for you to use is below, click on the link to download or print {for non-commercial use only please!}


I printed my party info inside each card before assembly (remember to adjust your margins & print out a draft to make sure it all lines up right).  You can just as easily write or stamp the party info on the inside.  I used this great (free) video-game looking font: Unibody 8 


Invitation Template Inviation Layout

Video Game Birthday Party

My 12 year old is a console gamer. Loves them...if he had a choice he would play them all summer long--not going to happen :). So when it came time to choose a birthday party theme the choice was clear, a Nintendo/Mario Bros. themed party was all he could ask for. 
In the next few posts, you'll see how it all came together...


5.01.2012

400 "likes"

To celebrate hitting our 400th 'like' on Facebook I'm offering FREE SHIPPING at Anticipation Cards to celebrate!

Enter the code:
FACEBOOK400
at checkout to redeem.
(coupon good until 9:00 a.m. est 5-8-12)


To receive updates about promotions and new shop items you can follow me here:


Thank you!

4.26.2012

Nutella and Banana Mini Hand Pies

This is one of our family's favorite flavor combinations (try a small scoop...a teaspoon or so...of Nutella with sliced bananas in your hot cereal...yum), so for a quick desert on night I made these.  Needless to say, they were a big hit...


Ingredients:


Pie crusts-from your favorite recipe, or the dairy section of your super market :)...we used pre-made this time to make it a little easier.


Nutella


Finely diced banana, one banana was plenty for us


1 egg beaten with a little water (egg wash)


How to:


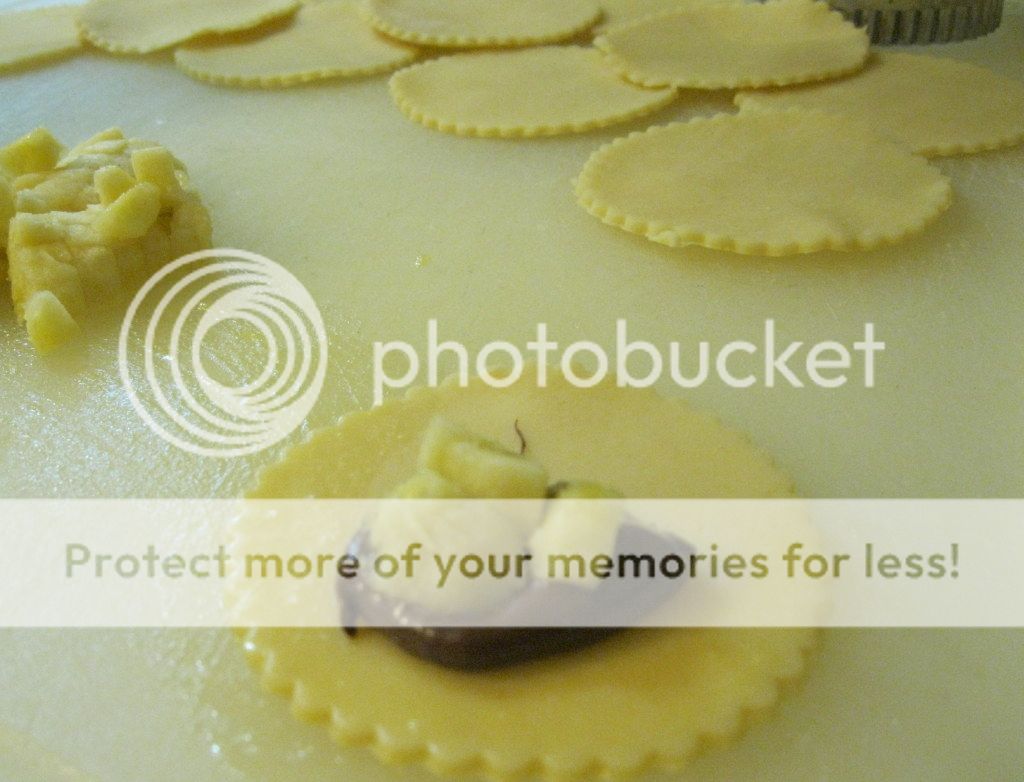
1. Cut circles from your pie crust.  It's best to do this assembly line style, so cut out all the circles you can.  We used a 3-inch scalloped biscuit cutter.


2. Place a small dollop (scant teaspoon) Nutella and a few pieces of banana on one half of the circle.


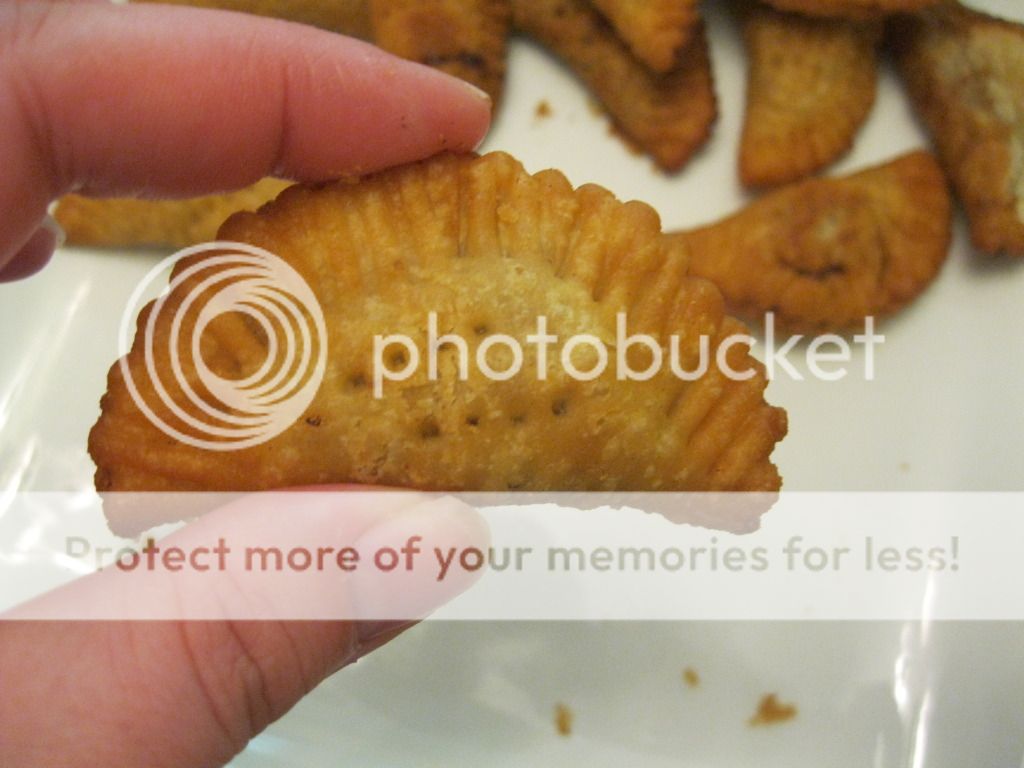
3. Brush edges with egg wash, fold the opposite half of the circle over the filling and press to close. Use the tines of a fork to press around the outside edge to seal it a bit more.


4. Heat oil to 350 degrees.  Fry pies a few at a time until golden brown...only a minute or two per side--watch them they cook up quick. Remove to a paper towel to soak up excess oil.
If you prefer a quicker (and healthier) option, bake in a 350 oven until golden brown.  Allow to cool a few minutes (filling will be HOT) and enjoy!


4.13.2012

it's a GIVEAWAY!

Looking to win some great products?  
Lila at L Photography is having a HUGE giveaway celebrating her 1000 Facebook fan!
And both Anticipation Cards & See Anna Sew are participating :)

Visit her blog here
or 
Her Facebook Page here


Make sure to take a look at her photos--she does an awesome job!

4.09.2012

The 5 Days of Spring Break {day 5. finger crochet}


...or maybe you call it finger knitting...either way it's an easy (and addicting) way to keep little hands busy.  Would be great for a long car ride too.  Here's what to do...


1. tie a loop of yarn around your index finger.
2. Weave yarn over and under each finger to your pinky then back to your index finger.


3. Lay yarn across your fingers above the looped yarn.


4. Pull each loop up and over the top yarn then over the finger tip.  Repeat for each finger.


5. Going the opposite way, lay yarn over fingers as in step 3.


6. Repeat steps 3-5 until you get the length you're looking for.  {If you need a break, carefully slide yarn off fingers and onto a pencil for easy keeping without unraveling your work}

7.  To finish, cut yarn then thread the loose end through each loop {we found it easiest to put loops onto the pencil then thread yarn through}. Pull string tight and knot the end.


Related Posts with Thumbnails