7.23.2012

Video Game Party {the cake}


I'm not a super-fancy cake decorator, but I do my best :) I like to get as much impact out of it as I can without a massive headache.  Here's what I came up with for C's 


For this cake you need:
2 round cake layers, a nice rounded one for the top
Frosting of your choice
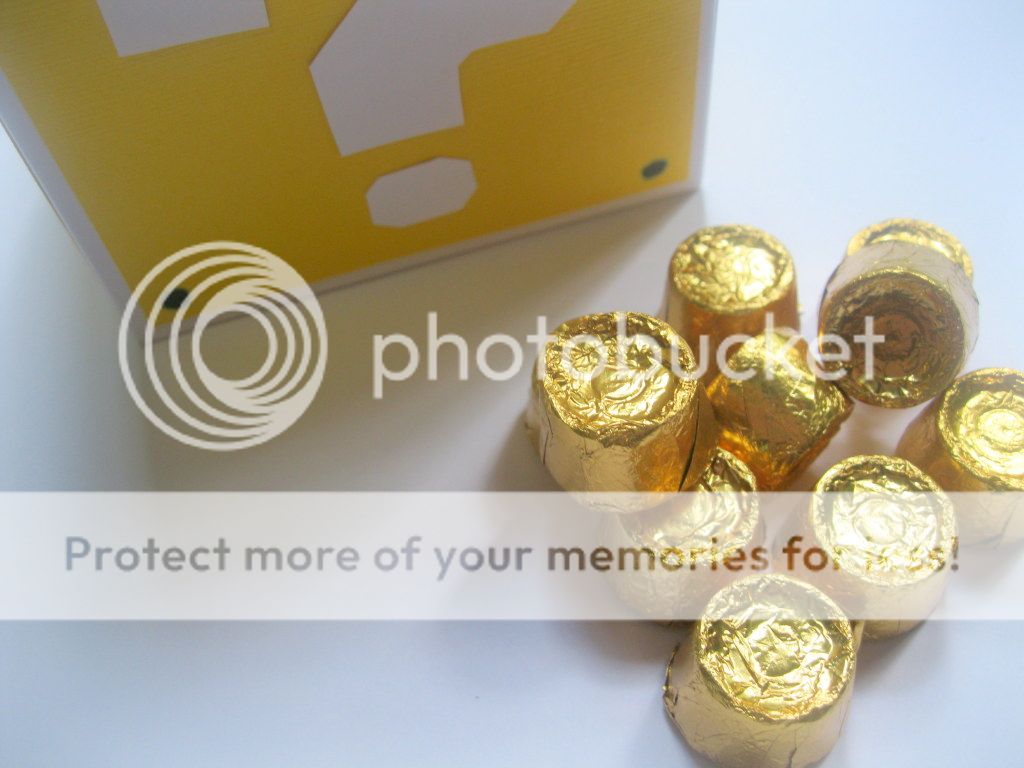
Chocolate Chips (opt)
Classic-flat bottom cake ice cream cones
Action figures :)


1. Frost your cake as you normally would :) 

2. Fondant...follow the directions on the link {scroll down for the recipe}  Add food coloring to get the desired effect.  I actually melted a handful mini chocolate chips  into the marshmallow/water mixture before adding the powdered sugar for the brown fondant...I was in a bind and it worked great...tasted pretty good too. Brown food coloring will work just as well:)

  Roll out a thin strip of brown fondant that is slightly larger then the height of your cake {so the green will overlap}.  Wrap around your cake and gently press to hold.  

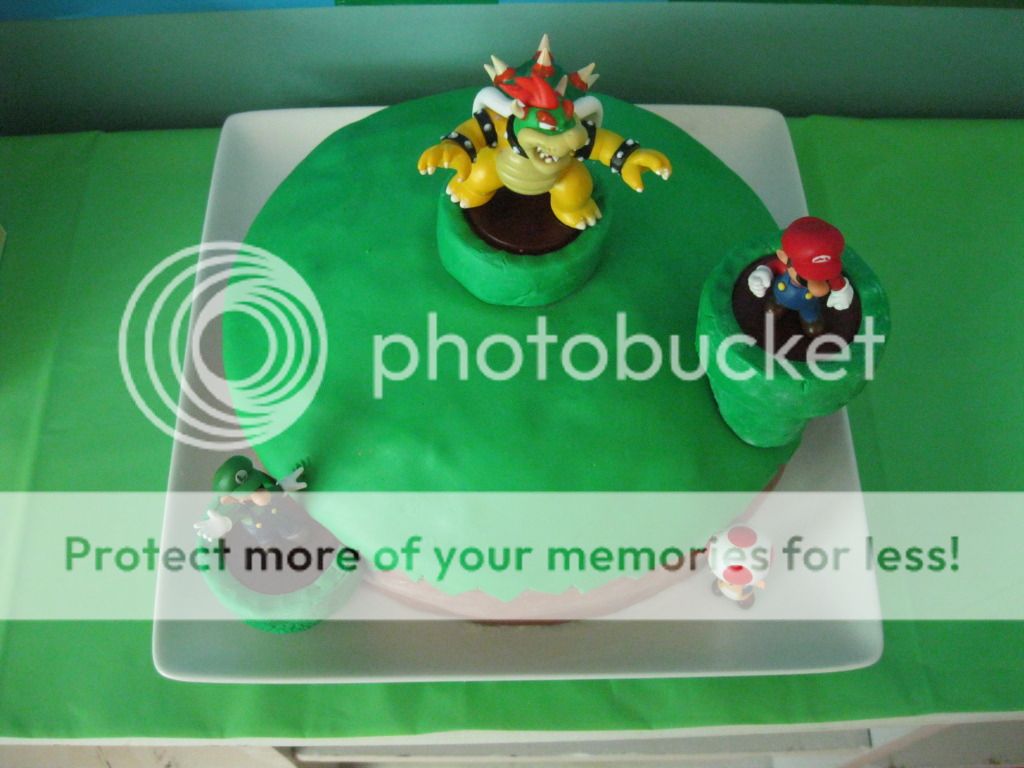
Next roll out a thin circle of green fondant, again a little bigger than the diameter of your cake.  Carefully apply to the top of your cake.  Use scissors to cut away excess to form the "grass" top.

3. For the pipes, trim classic cake ice cream cones to fit your cake {see above pictures}.   Use a serrated knife and saw back and forth to keep from breaking your cones {it's good to have a few extra on hand}.  To wrap in fondant, wet the cone VERY LITTLE to help the fondant stick, then mold the fondant around the cone.  Use toothpicks or skewers through the center of the cones to hold the "pipes" in place.

4. Last, place your figures...the ones I used had a base that fit the open cones perfectly.  And add candles at the last minute :)

7.05.2012

Video Game Party {the favors}

What could be better than taking home your party loot in true Mario Bros. style?  These "question mark block" boxes were a big hit at C's party.  


Here's how to make your own....


You will need:


>4 x 4 x 4-inch plain white boxes (mug size...look for them near the gift bags at your local craft stores...aka Michael's, they come flat so you will have to assemble them)


>Bright yellow card stock, cut into 5 3/4-inch squares, you will need 5 squares per box, so plan accordingly


>White card stock, cut into question marks.  You will need 5 question marks per box also...this is a little time consuming, but the end product is worth it! I used this to make a template...you will need to re-size your question mark to fit your boxes.


>Black marker


Assembly is simple, after your pieces are cut out, affix your question mark in the center of each yellow square.  Then a yellow square to each side (except the bottom) of your assembled boxes.  Carefully draw a black dot in each corner.  And you're ready to go!


FYI....individually wrapped Rolo candies make great Mario Bros. "coins".  We found lots of favor filler options here (and at a reasonable price :)
Related Posts with Thumbnails