

Here's what you need:
heavy white card stock (I like 110 lb for cards)
colored card stock, I used one color per letter in his name
sewing machine and thread
ink
letter rubber stamps
 1. Cut your white card stock to measure 4.25 x 5.5 inches. Fold in half. Cut out strips of colored card stock to be 1 x 1.5 inches, cut out a notch from the bottom to form the flag. {be sure to make enough for all the invitations you plan on sending out}. I printed out party info in a cute font onto the white card stock before cutting and folding. Play with your margins to get it right (and print out a proof just to make sure)
 2. Arrange your flags & adhere them with a little glue or double sided tape. Make sure you only use the adhesive near the BOTTOM of each flag...you don't want to gum up your sewing machine with the stickiness :) I had my end flags hang over the edge just a bit, then trimmed them even with the side of the card.
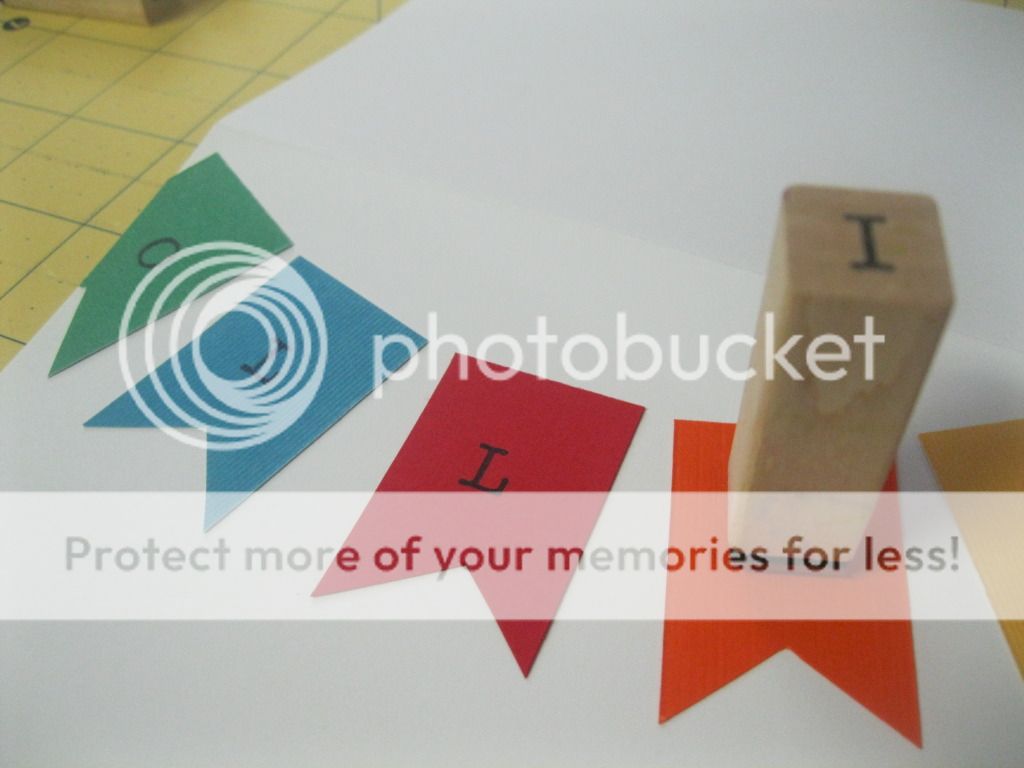
3. Stamp a single letter on each flag to spell out the name. And then below the bunting stamp: "Turns 1"...or any message that you like really :)
 4. Carefully (and slowly) stitch along the top of the flags to finish the bunting look. Be sure to back-stitch to secure your stitching. I cut the ends to about 1/3 inch or so, to look like ties for the bunting. Using a contrasting thread (I used blue) helps it to stand out.
It's as simple as that :)


